a personal wiki with jekyll
This is the method I use to store and organize my worldbuilding, and how to implement it if you’d like to do the same. It requires some basic familiarity with the command line, but hopefully will be doable even for beginners; installing Jekyll itself is the most difficult part, and even then you can pretty much just copy and paste the commands from the installation guide into your terminal.
Jekyll is a static-site generator: it generates your website once, making all the files ready for retrieval ahead of time. This website was built with it, because it’s what Github Pages uses, but it’s also a really good tool if you just want to browse your files like a website without actually publishing them on one.
The way I structure my Jekyll projects allows me to get all the HTML and CSS out of the way in a handful of files, and then all the actual content is written in Markdown.
I’ve tried to adhere to accessible and easy to read design principles while retaining the look and layout of a classic wiki that we’re all familiar with - I’ve aped some elements of Wikipedia’s organizational system and layout while trying to make it as clean and user friendly as possible.
This theme is not mobile friendly, as I personally do absolutely no work on mobile and thus my development skills are lacking. I stuck in a couple CSS breakpoints, so it’ll be mostly legible on a medium-sized tablet, but don’t expect great results on a phone. There is also no dark mode or other alternate colour scheme, but please feel free to fork this project and add whatever functionality you’re looking for.
A note on the command line
The main thing you’ll need to do via the command line is change the directory you’re in, using the command cd followed by the path to the new directory, relative to your root directory. Here is how to find a file’s path on Windows, and here is how to find it on a Mac (you can also drag and drop the folder into your terminal and it will automatically fill in the path for you). Here are some different methods for Linux.
Getting started with Jekyll
Follow the instructions for your operating system here to install Jekyll.
Starting from a template
If you want to use the setup I use, you can download the template at its Github repository. This way it’s already configured to work well with the theme.
- Go to the wiki repo and click the green ‘Code’ button; download the repository as a .zip file. Unzip it into your preferred location.
- Go to your terminal and navigate to the directory by entering
cd /path/to/directory - Run
bundle installto install any missing Ruby gems, including the PaperWiki theme. - Now you can run
bundle exec jekyll serve. This will generate the site, and give you the server address where you can view it, also known as your localhost. Copy and paste this server address into your browser’s address bar, and you should see the following:
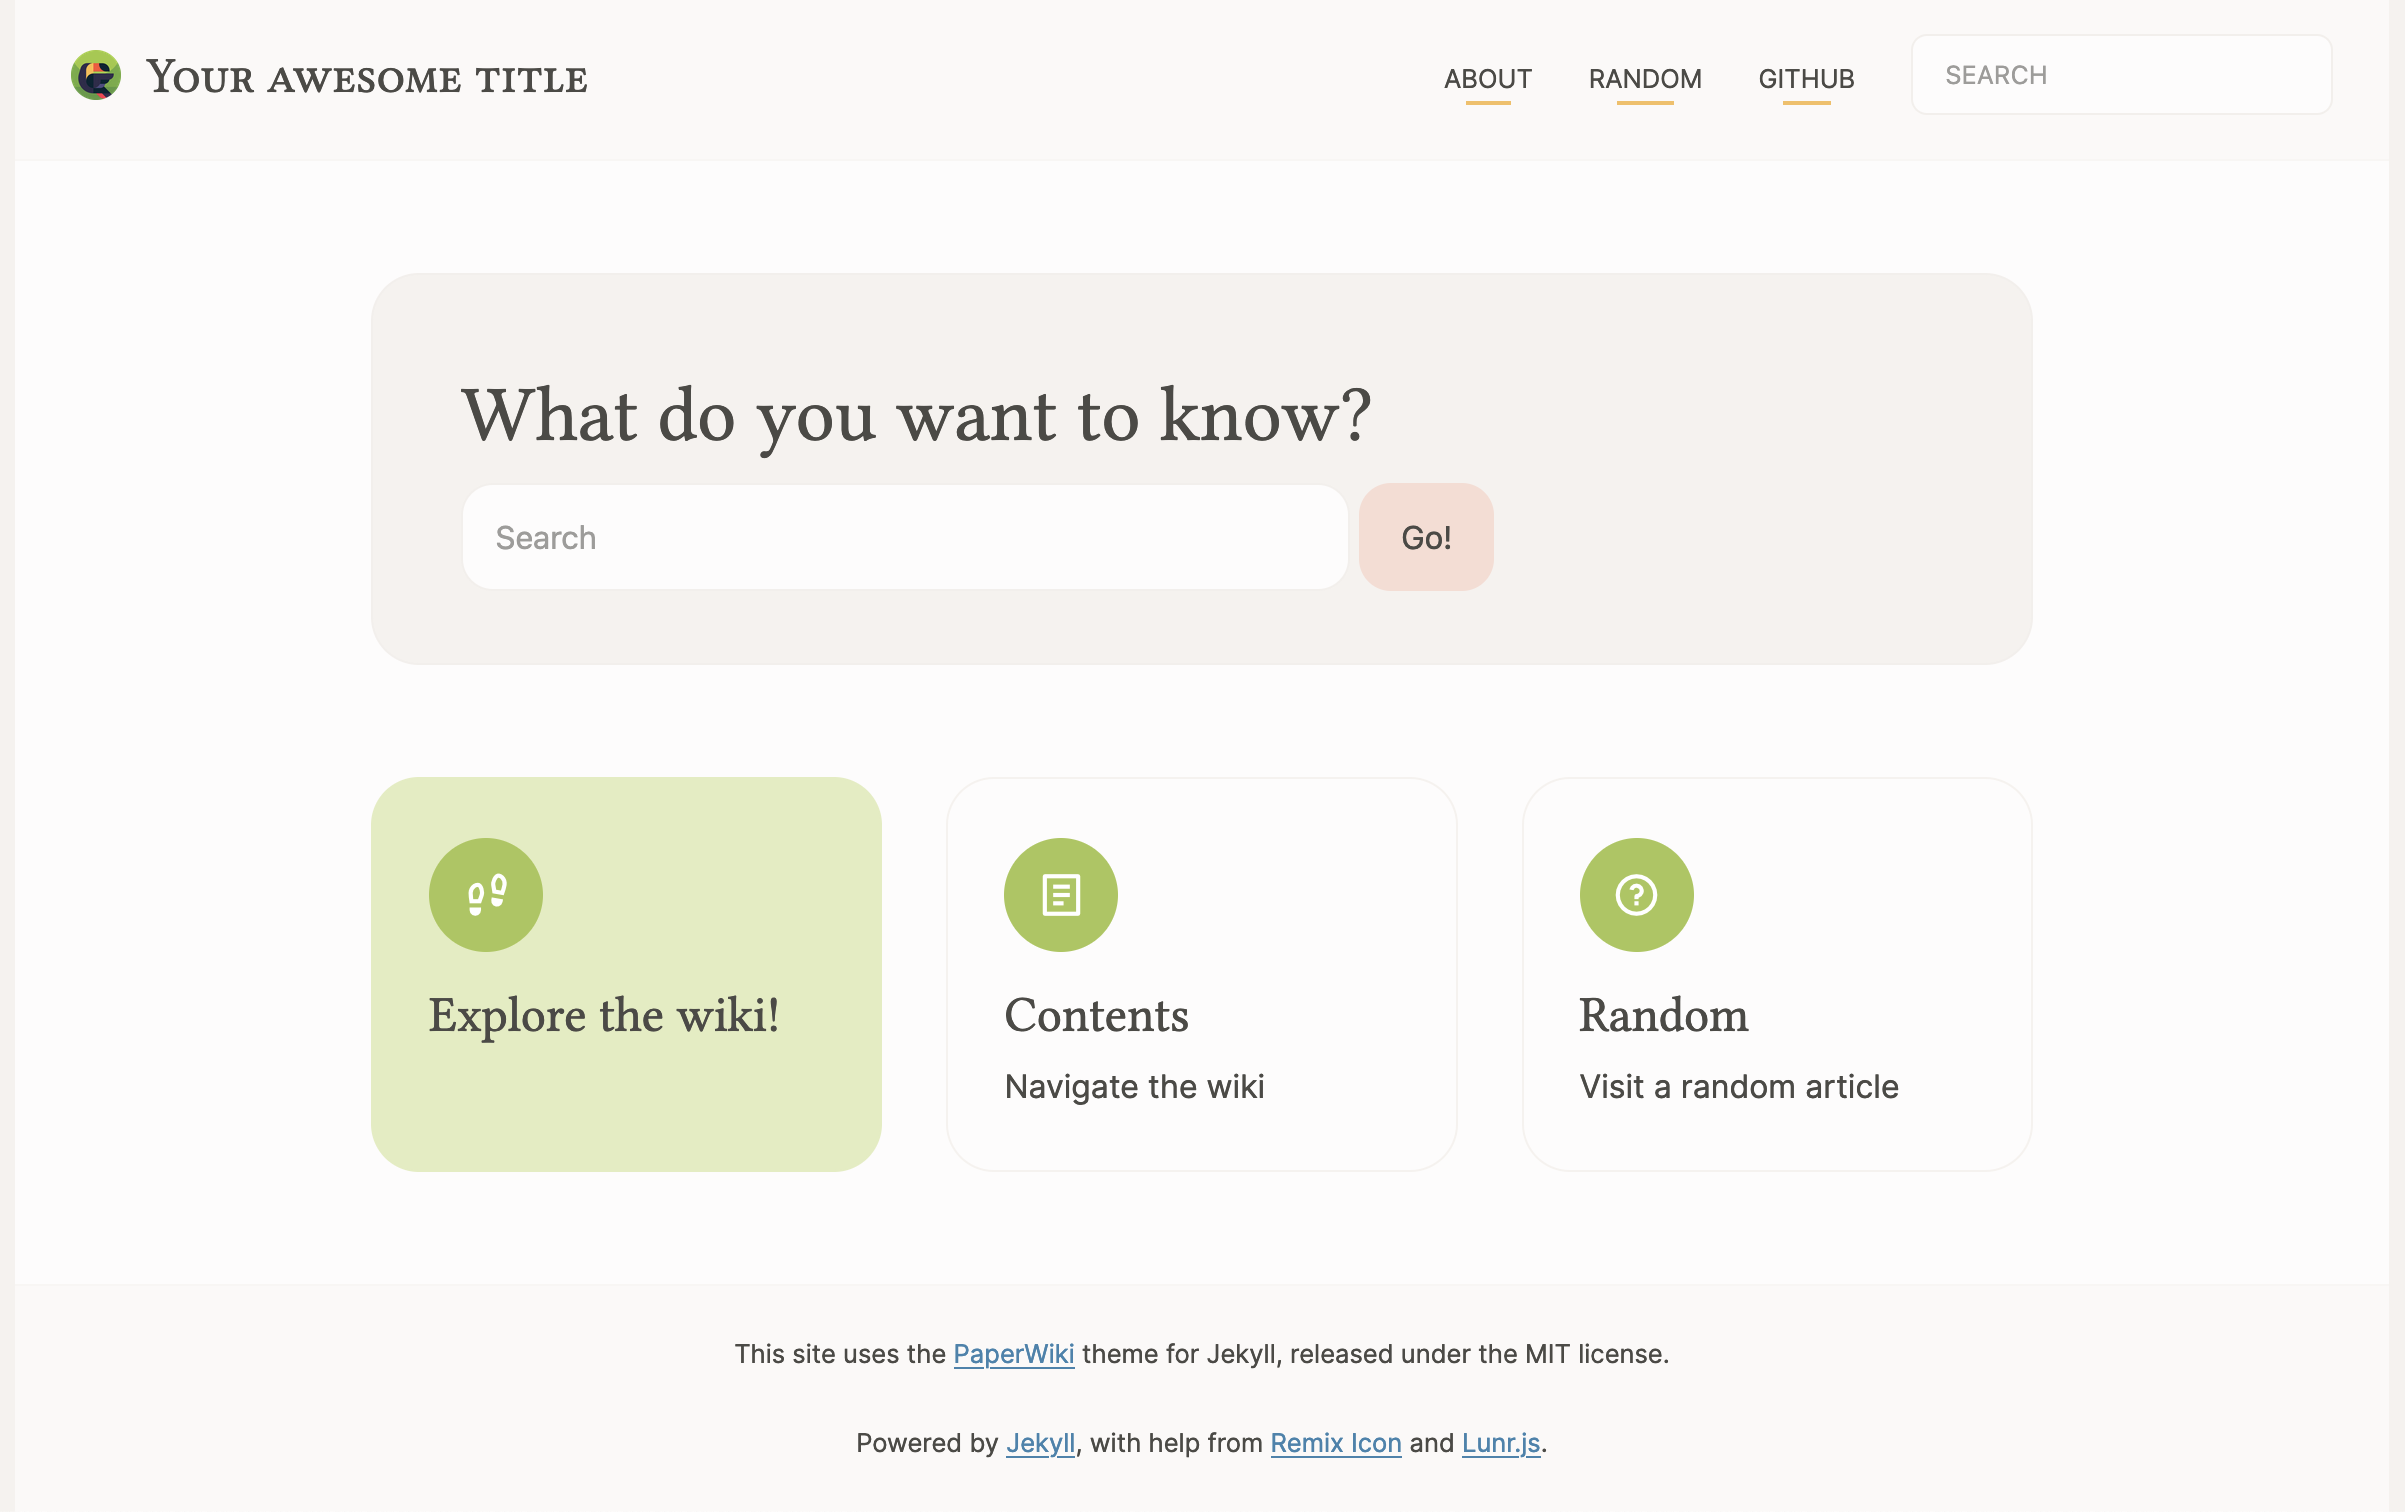
Your site is now functional!
Starting from scratch
Once you’ve got Jekyll installed you can create a new site by running
jekyll new SITE_NAME_HERE
This will give you a very bare bones Jekyll site, with an index page, a folder for blog posts, a config file, and a Gemfile. You’ll have to do a little setup to make it usable with this theme. Here’s what the directory should look like:
.
├── _pages/
│   ├── wiki/ # In here is where your organizational pages for your wiki will go.
├── _posts/ # If you want to write blog posts, they go in here.
├── _site/
├── collections/
│   ├── _wiki/ # In here is where all your articles will go, in markdown or html files.
├── _config.yml
├── 404.html
├── about.md
├── Gemfile
├── index.md
(Don’t worry about the .gitignore or the Gemfile.lock.)
To use this theme, open your Jekyll site’s Gemfile, delete the line that says gem "minima" and replace it with this line:
gem "jekyll-theme-paperwiki", "~> [version]"
And add this line to your Jekyll site’s _config.yml:
theme: jekyll-theme-paperwiki
And then execute:
$ bundle
Or install it yourself as:
$ gem install jekyll-theme-paperwiki
To serve your site locally, navigate into the site’s directory and run:
$ bundle exec jekyll serve
Navigate to your localhost and…you will see an empty page. This is because the layout in the default index.md is not set properly. Open this file and change the layout in the front matter like so:
---
layout: launchpad
---
This will show you the default wiki homepage.
Using the wiki
The three links - explore, contents, and random page - link to pages that are included with the theme, and consist of pregenerated content based on the wiki articles you’ve written.
Explore will take you to the equivalent of Wikipedia’s main page, displaying featured articles and statistics about the number of entries. This is where I have chosen to display the main categories for your articles to be organized by; or in Wikipedia terms, portals (since the word category is already in use in Jekyll’s structure). What these portals are, however, are up to you. Clicking on a portal will take you to the corresponding portal page, where you can break it down into further subcategories however you’d like.
To set up your categories or portals, you’ll need to edit the structure of your site a little bit. In the _data folder, create a new file titled portals.yml. The format should read like this:
   - name: Geography
     link: /wiki/portal:geography # You can format the link however you like
     icon: ri-compass-3-line # The code for whatever RemixIcon you would like to display
     summary: landmasses and oceans
To find an icon, head over to RemixIcon’s website and choose one you like. Click on it, and you will see <i class="some-code-here"; copy the code in between the quotes and paste it after icon: .
In the directory for your site, there are two wiki folders. The first is in the _pages folder; this is where all your navigational pages go. The second is in the collections folder; this is where you put all your actual content. The search functionality and the random functionality only access this second folder.
For each portal, you need to create a corresponding page in your _pages/wiki folder. You can sort these into another folder if you want. Each page should be a Markdown file, with the extension .md. The page should contain the following:
---
   layout: portal
   title: Geography portal
   permalink: /wiki/portal:geography
---
You do not need to add any other text to the page; the portal layout you assigned it will do all the work for you, retrieving every entry in your _wiki folder that contains portal: geography in its front matter (more on that in a minute).
Now you can start adding articles in your /collections/_wiki folder.
All of your wiki pages should be written in Markdown, and you must begin each .md file like so:
---
---
Between these two lines is where you include front matter, such as specifying the layout or the permalink to the page. However, you can leave the front matter blank - wiki pages have layouts and permalinks set by default in the theme’s config file, and you only need to specify them if you want to override the defaults. You also do not need to specify a title for the page, as it is automatically taken from the filename. All you absolutely need is the two triple-dashed lines, as Jekyll needs it to know that the front matter is there in order to output the page.
In order for links to your pages to show up on their corresponding portal page, you need to include the portal information in this front matter. That looks like this:
---
   portal: geography
---
If you want the entry to be associated with more than one portal, that looks like this:
---
   portal:
      - geography
      - oceanography
---
The default layout for a wiki entry contains three parts: a sidebar on the left that generates a table of contents based on the headings used in the article; the main body of the article; and a sidebar on the right where you can include the classic Wikipedia-style stats table, the main image associated with the entry, and any other information you want to be visible at a glance:
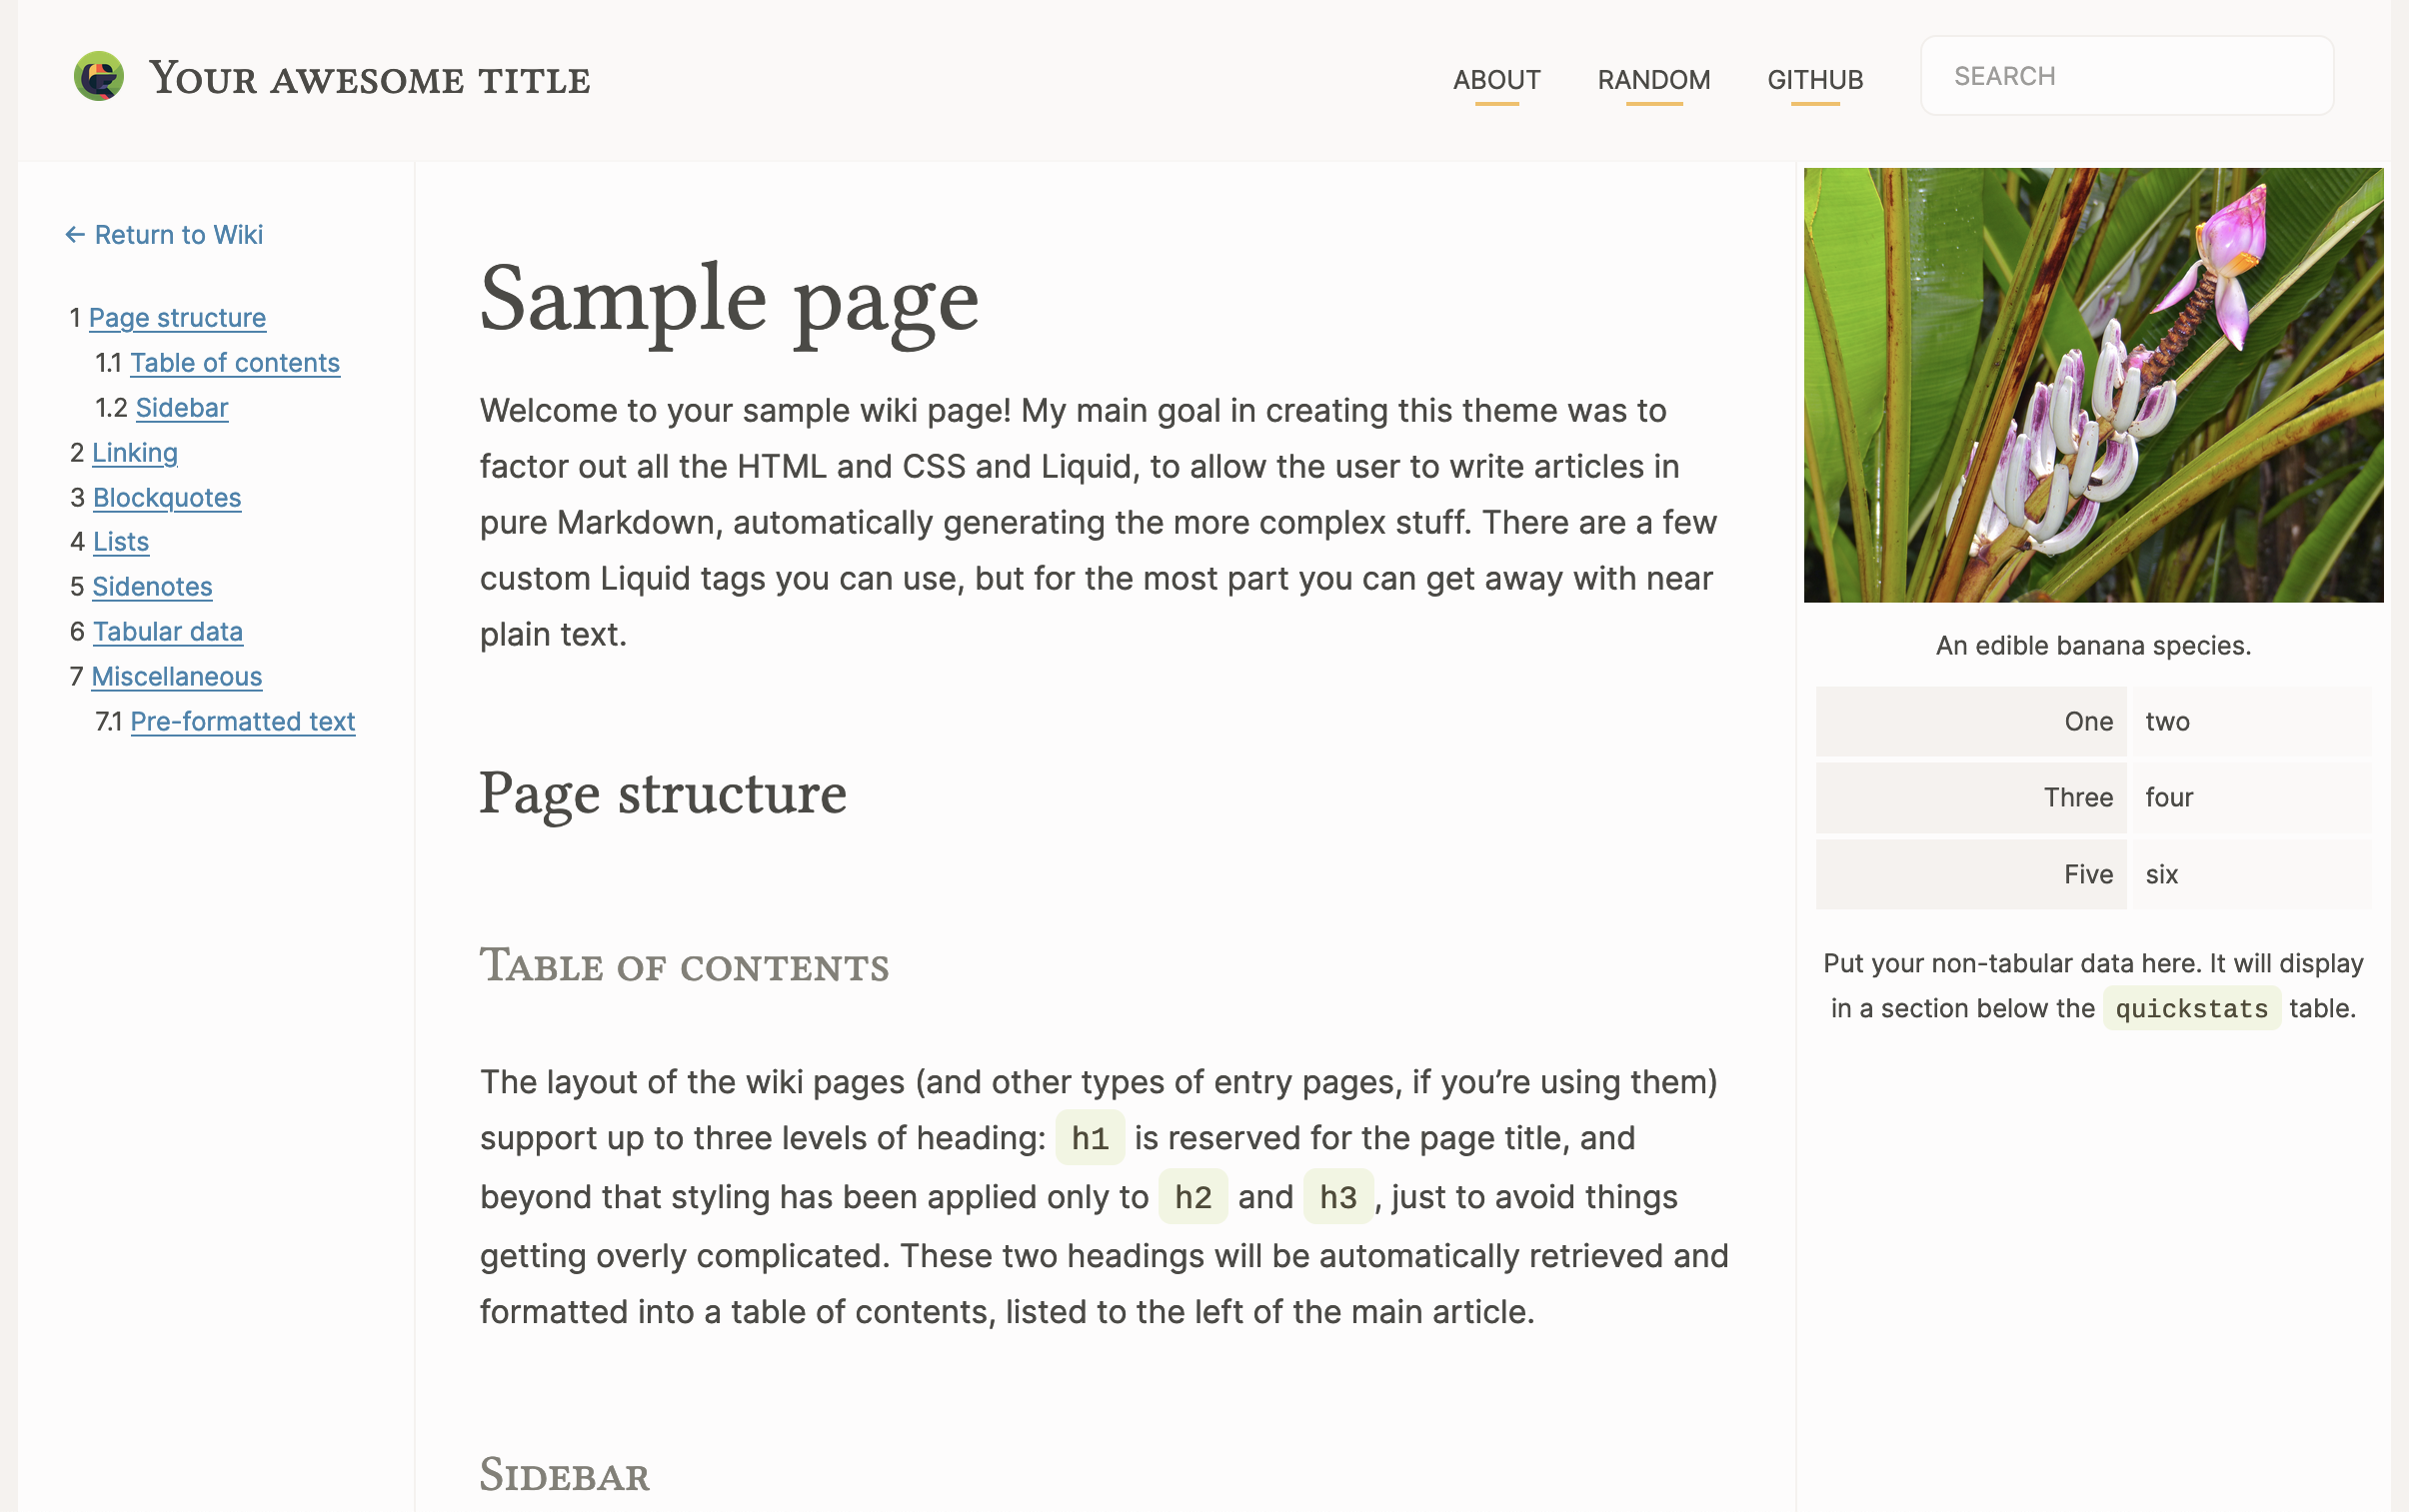
In order to include these, you have to add them to the front matter.
---
   image: https://upload.wikimedia.org/wikipedia/commons/a/ad/Wild_Banana_%28Musa_campestris%29_inflorescence_%2815549388566%29.jpg
   image_caption: An edible banana species.
---
The image is always shown at the top, with the caption underneath. Any stats or text will appear underneath. You can use whatever key-value pairs you want; a table will be generated containing whatever information you include. The formatting for that looks like this:
---
   quickstats:
      type: planet
      orbital_period: 419.75 solar days
      semimajor_axis: 1.2229 AU
---
The layout contains logic that will look inside quickstats, if it exists, and iterate through any key-value pairs it finds there, creating a corresponding row in the table for each pair.
You can also include quicknotes, which will just output text:
---
   quicknotes: Here is the text that will appear in the quicknotes section.
---
Or:
---
   quicknotes: <img src="https://upload.wikimedia.org/wikipedia/commons/a/ad/Wild_Banana_%28Musa_campestris%29_inflorescence_%2815549388566%29.jpg">
---
Any formatting in the quicknotes section should be in HTML, not Markdown, for it to render properly.
Caveats:
- If the site won’t build due to an error with the random page, make sure you have more than one wiki article for it to draw from
- You may need to specify a permalink and a title if you want to use certain characters that are not allowed in filenames – say, some IPA characters. Otherwise just title your articles “Article title.md”, with spaces, not underscores or hyphens, and the default settings will take care of the rest.
Site structure
A basic Jekyll site includes the following:
- The
_includesfolder contains snippets of HTML that are frequently reused on pages throughout the website. This saves us from having to copy and paste the HTML on multiple pages, and we only have to edit it in one file in order to change every instance of it. - The
_layoutsfolder contains the formatting for different types of pages, meaning that instead of formatting each page individually we can just specify which layout template to use. - The
_sassfolder contains all the styling for the site, written in SCSS. - The
_sitefolder contains everything that Jekyll outputs when it builds the site. Don’t edit anything in this folder, as it will be rewritten the next time you serve the site. - The
assetsfolder contains things like fonts, images, and Javascript files. It also contains a.cssfile importing all of your SCSS so that Jekyll can convert it to regular CSS; don’t edit this file.
This theme comes with all of these prepackaged, so most of what you have to do is edit the _config.yaml file. The theme has some default config set already, but you can override these in your own config file if you wish. You can also add any of the above folders to your own project with includes, layouts, or SCSS to override the theme’s files. For example, you will want to add your own assets folder to store your own images, including one titled favicon.png in order to override the placeholder one i’ve included.